To create calendar invites using the Microsoft Graph API, you need to perform the following steps:
Make a POST request to create the event: Use the POST method on the /me/calendar/events endpoint or the /users/{user-id}/calendar/events endpoint to create a new event in the user’s calendar. The request should include the event details in the request body, including the subject, start and end time, attendees, location, and other relevant information.
Here’s an example request body in JSON format:
{
  "subject": "Meeting with Sudeep",
  "start": {
    "dateTime": "2023-06-13T09:00:00",
    "timeZone": "Pacific Standard Time"
  },
  "end": {
    "dateTime": "2023-06-13T10:00:00",
    "timeZone": "Pacific Standard Time"
  },
  "attendees": [
    {
      "emailAddress": {
        "address": "sudeep.ghatak@example.com",
        "name": "Sudeep Ghatak"
      },
      "type": "required"
    }
  ],
  "location": {
    "displayName": "Conference Room 1"
  }
}- Handle the response: The response to the
POSTrequest will contain the newly created event details, including the event ID and other properties. You can use this information for further processing or to display confirmation to the user.
It’s important to note that the specific implementation details may vary depending on the programming language or framework you are using to interact with the Microsoft Graph API.
Below is a Power Automate implementation using the graph API


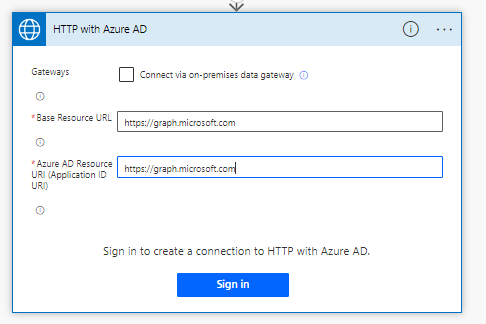
When you use the Azure HTTP connector, you might see the following screen first, provide the following details in order to configure the action.

If you want to send invitations to multiple attendees, you need to create an array of the Attendee objects.
"attendees": [
{
"emailAddress": {
"address": "sudeep.ghatak@example.com",
"name": "Sudeep Ghatak"
},
"type": "required"
},
{
"emailAddress": {
"address": "sghatak@example.com",
"name": "Sudeep N Ghatak"
},
"type": "required"
}
]
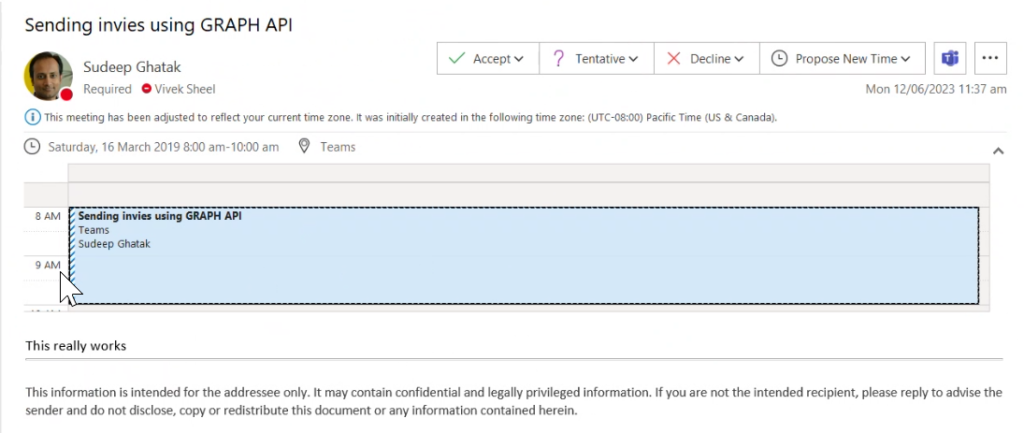
Here is the Meeting Invite:


Thanks for sharing!