
This article delves into the process of connecting Power Apps to Azure SQL Server Database
Data storage is a critical aspect of any business IT solution, as it involves storing various types of information such as customer data, inventory records, financial transactions, documents, and images. Choosing the right data storage solution is crucial for the success of your business.
PowerApps provides the flexibility to interact with multiple data sources, and I have explored the following options in order of increasing complexity:
- Excel files stored in OneDrive or SharePoint: This is a straightforward option for storing and retrieving data in PowerApps. Excel files act as a convenient repository for managing and manipulating data.
- SharePoint lists and libraries: SharePoint offers a robust platform for organizing and sharing data. PowerApps seamlessly integrates with SharePoint, allowing you to leverage its powerful features for data management.
- Dataverse: Dataverse provides a unified and standardized data platform that simplifies data management across various Microsoft applications. PowerApps can connect to entities and utilize predefined picklists, making it easier to work with structured data.
- Azure SQL Database tables: For more advanced scenarios, PowerApps can connect to Azure SQL Database tables. This cloud-based solution provides the scalability and reliability of SQL Server, enabling efficient data storage and retrieval.
This article covers the FOURTH option in details.
Provisioning Azure SQL Server
To provision an Azure SQL Server, you can follow these steps:
- Sign in to the Azure portal (https://portal.azure.com).
- In the Azure portal, click on “Create a resource” or the “+” button on the top left corner.
- In the search bar, type “SQL Server” and select “SQL Server” from the suggestions.
- Click on the “Create” button on the SQL Server overview page.
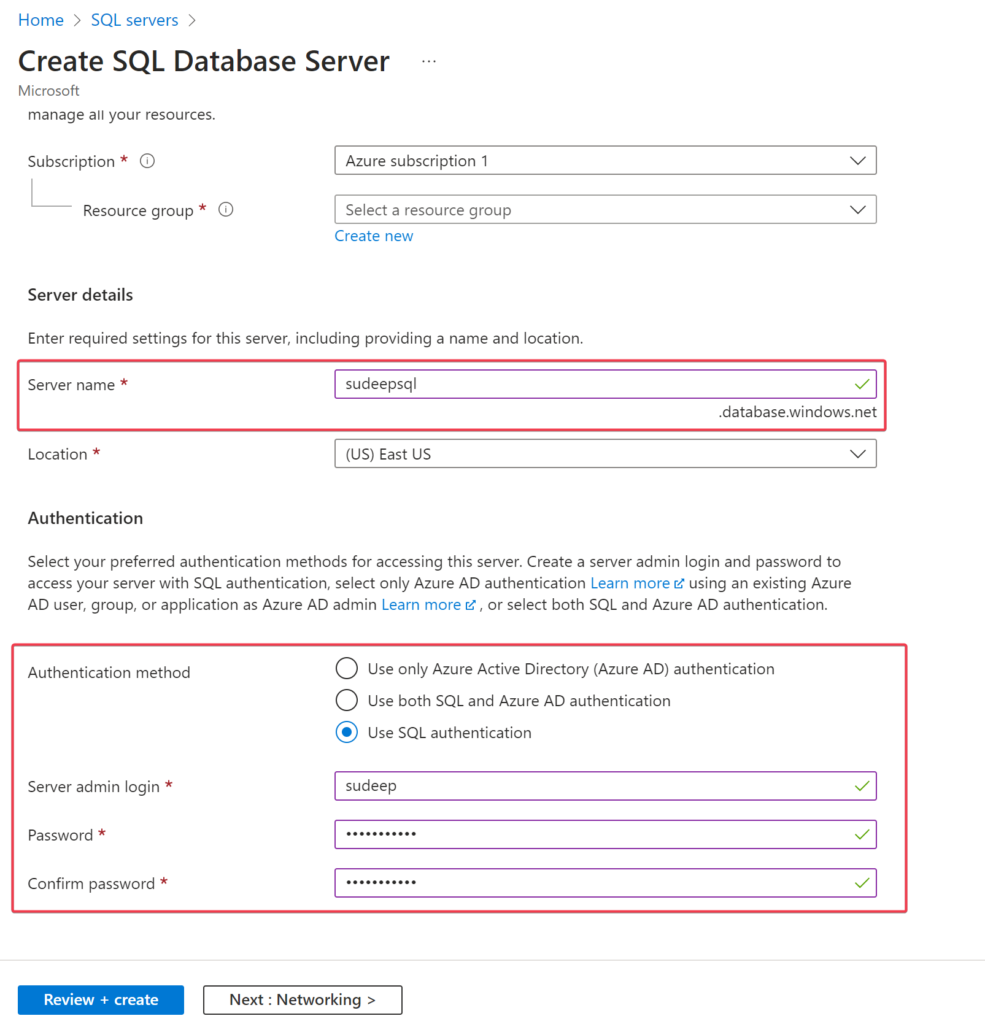
- In the “Basics” tab of the creation form, provide the following information:
- Subscription: Select the appropriate Azure subscription.
- Resource group: Choose an existing resource group or create a new one.
- Server name: Enter a unique name for your SQL Server.
- Server admin login: Enter a username for the server administrator.
- Password: Set a strong password for the server administrator.
- Confirm password: Re-enter the password for confirmation.
- Select the appropriate location for your SQL Server.
- In the “Networking” tab, configure the connectivity settings, including allowing Azure services and specifying firewall rules if needed.
- In the “Advanced” tab, you can configure additional settings such as version, storage, and backup options according to your requirements.
- Review the summary of your configuration on the “Review + create” tab and click on the “Create” button to start the deployment process.
- Wait for the deployment to complete. You can monitor the progress on the deployment page or in the notifications.
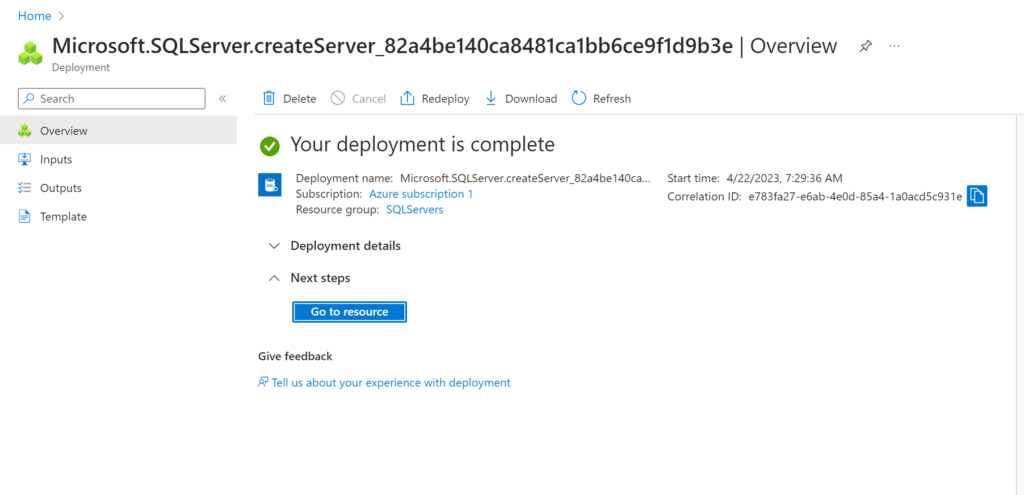
Once the deployment is finished, you will have successfully provisioned an Azure SQL Server. You can now create databases.
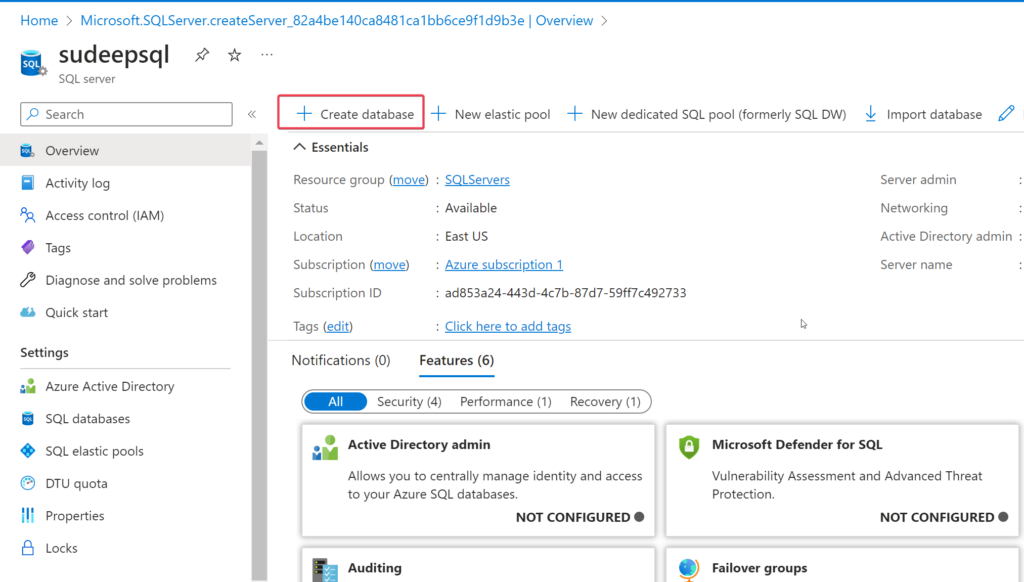
Creating Azure SQL Database
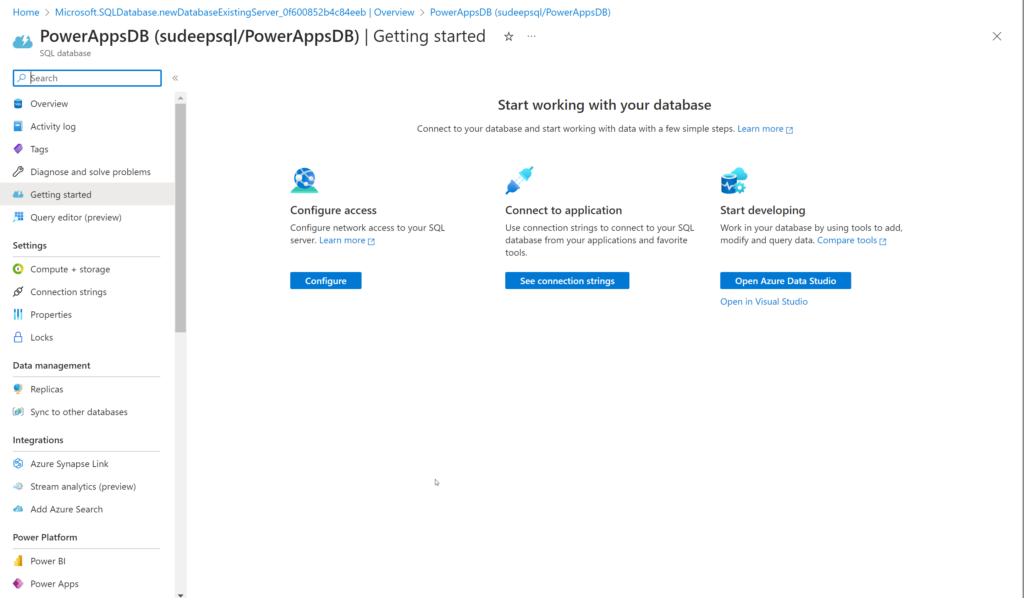
Once your SQL Server is ready, you can create a database from the overview page.
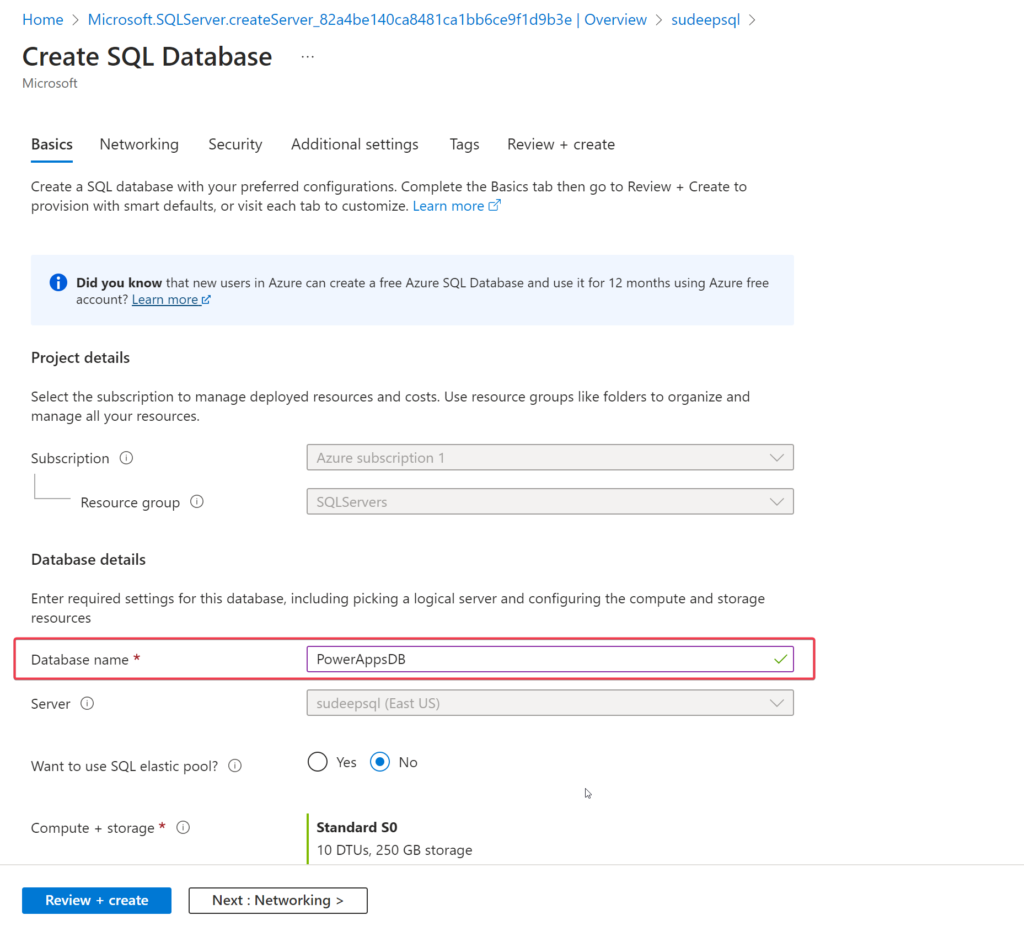
Provide a name for your database as per the Storage and Computing requirements
Setup Networking
There are two methods available for configuring Power Apps access to an Azure SQL Database server: through the Azure portal or by using the stored procedure sp_set_firewall_rule.
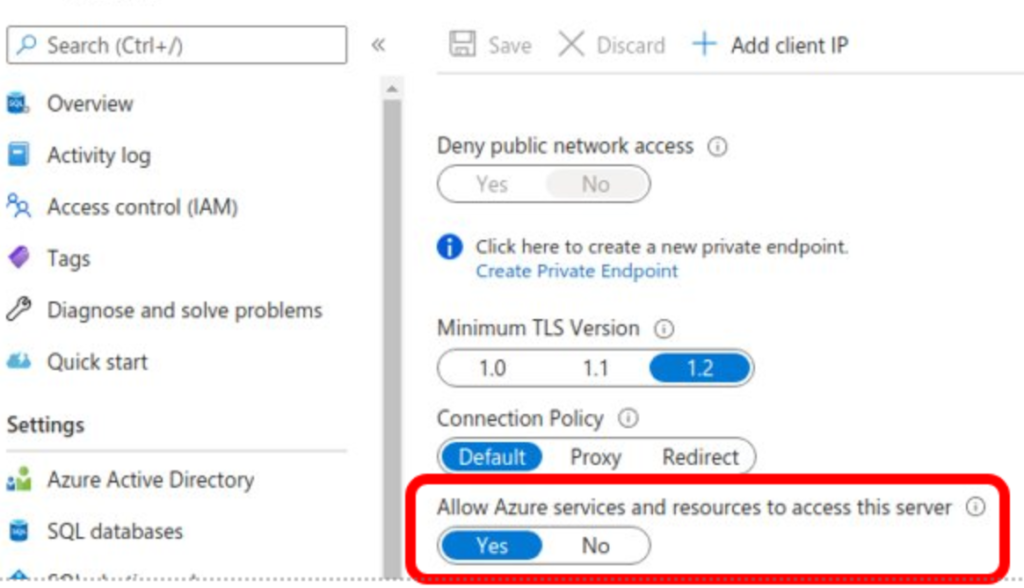
To configure access through the Azure portal, follow these steps:
- Sign in to the Azure portal and navigate to your SQL Server.
- Choose the option for Firewalls and virtual networks.
- Enable the setting “Allow Azure services and resources to access this server” by toggling it to ON.
- Save your changes by selecting the Save button.
Alternatively, you can utilize the stored procedure sp_set_firewall_rule with the IP address 0.0.0.0 to grant Azure services access to your SQL Database server.
Connecting the SQL Server from Power Apps Portal
Go to Power Apps -> Add data
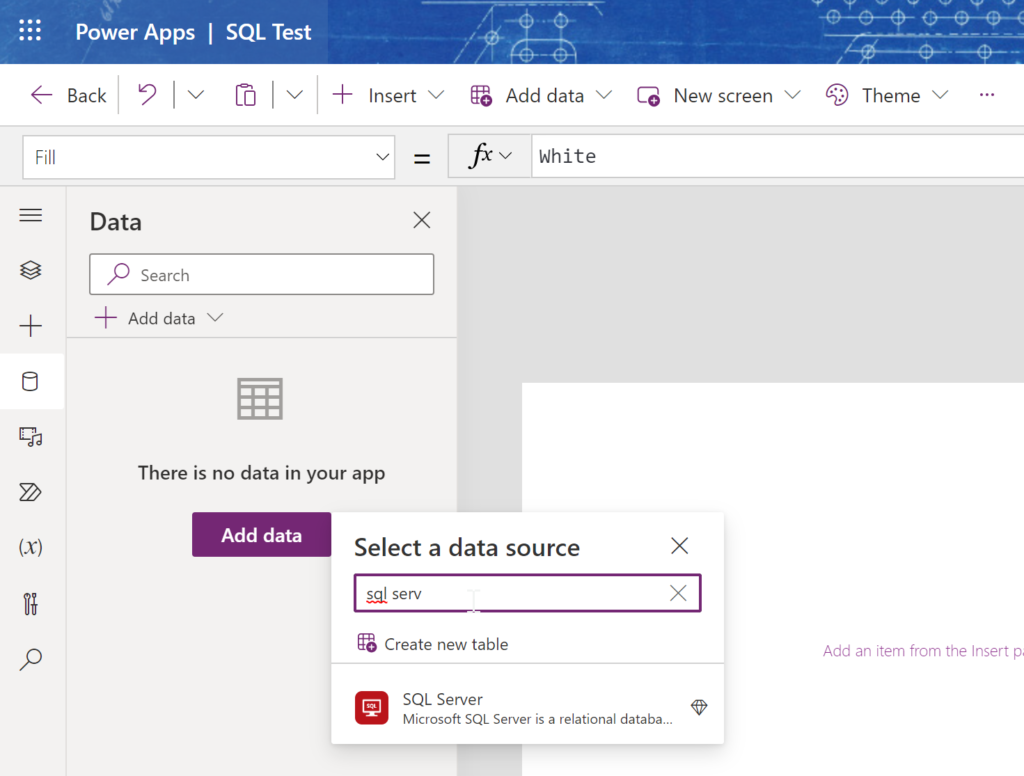
There are several authentication mechnaisms, we use the SQL Server authentication.
Provide the Server name, SQL DB Name, Username and Password
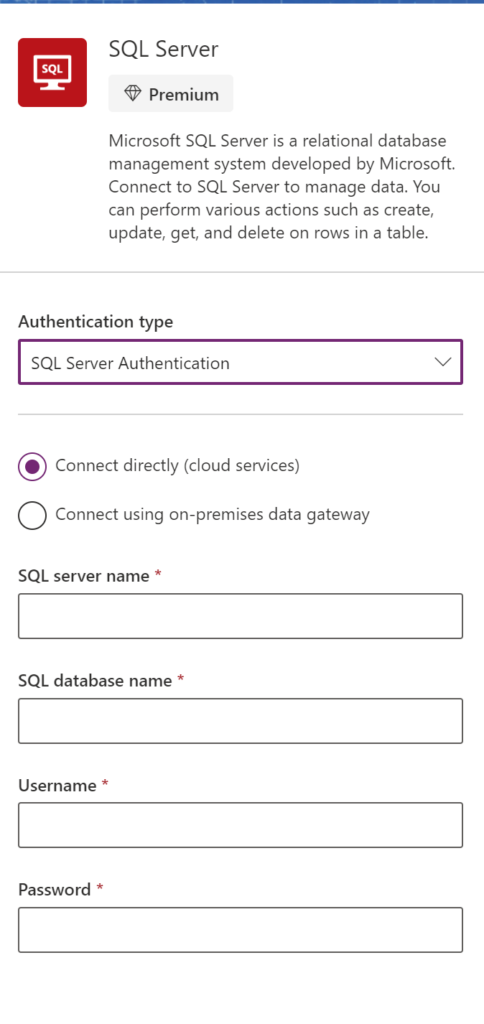
That’s it!