
Introduction:
In today’s digital age, events and conferences are taking place in various formats, whether in-person or virtually. One crucial aspect of organizing such gatherings is recognizing and appreciating the attendees’ participation and engagement. One effective way to achieve this is by providing personalized certificates to the event participants. While manually creating certificates for each attendee can be a time-consuming and tedious task, the power of automation comes to the rescue. With Power Automate, you can streamline the process of generating attendee certificates with ease and efficiency. In this blog post, we will explore the step-by-step approach to creating attendee certificates using Power Automate, empowering event organizers to deliver a personalized touch to their participants’ experience. Let’s dive in and discover how to leverage the power of automation for attendee certificate generation.
Pick a Certificate Template:
- Design the certificate template in Microsoft Word
- Save the template as a Word file with .dotx extension.
Set Up SharePoint Library and List
For the example here, we are going to include the name of the attendee and the course they completed. So, we need perform some SharePoint setup to begin with
- Create a SharePoint document library to store the generated PDF certificates.
- Add two custom columns to the library.
- Attendee Name (Text)
- Course (Choice)

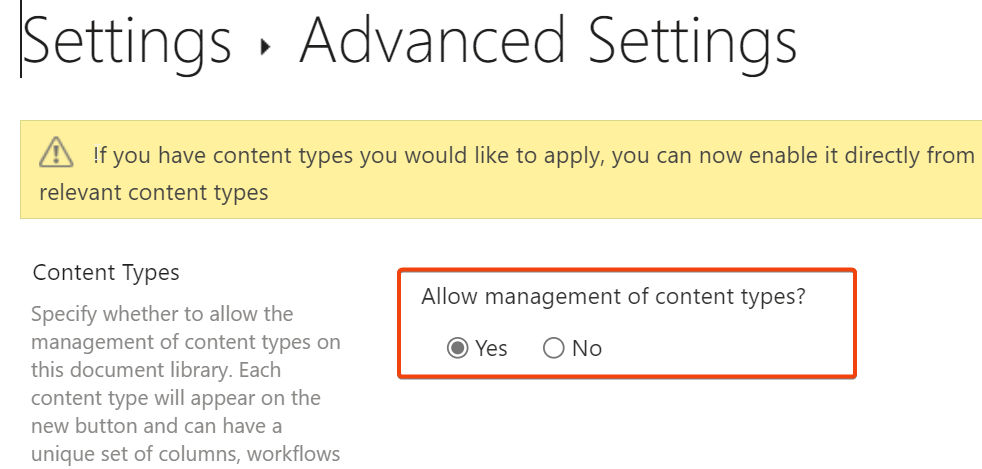
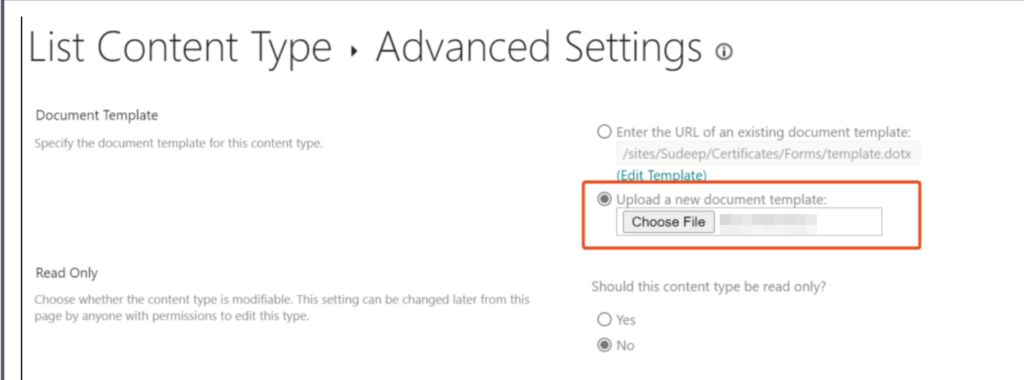
- Navigate to the Library Settings and access the Advanced settings. Then, adjust the Content types setting to match the option displayed in the following manner.
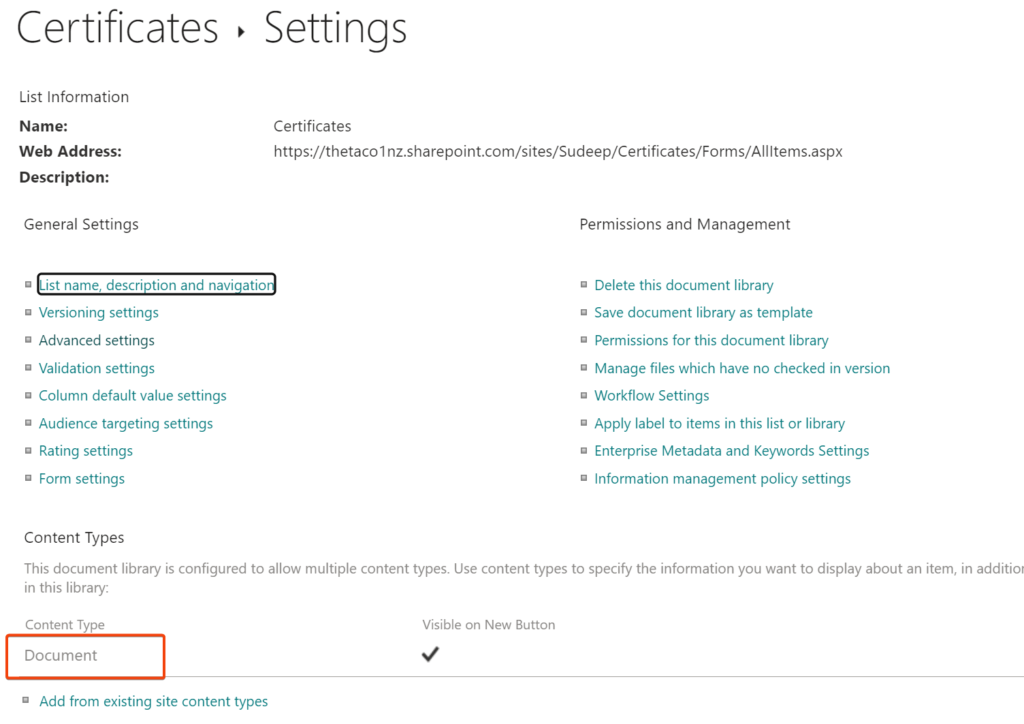
- Click on the Document content type.
- Click on Advanced settings
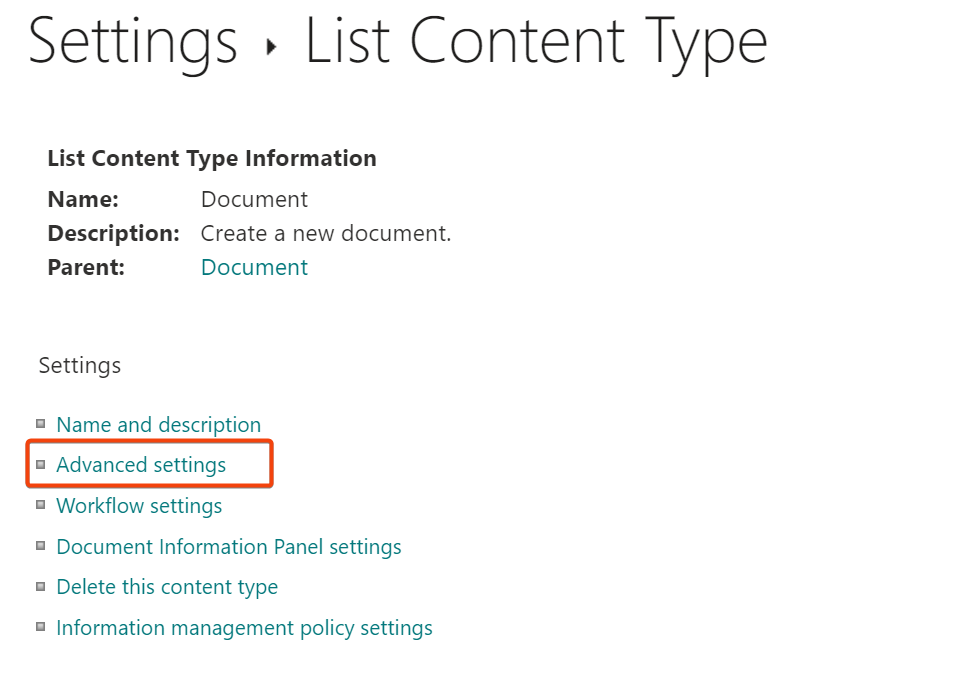
- Upload the Document template you created earlier and click OK.
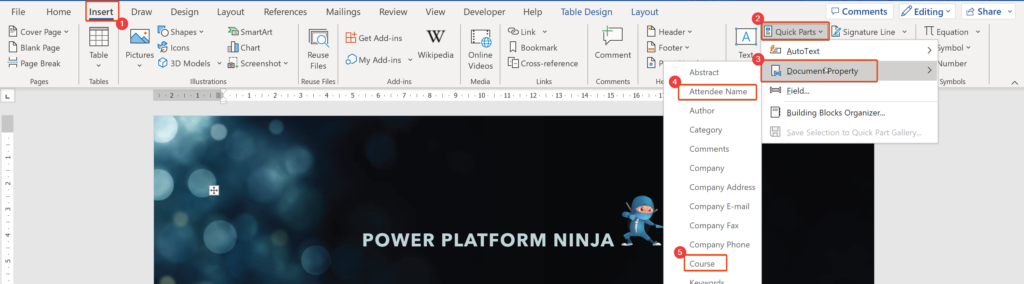
- Go back to Advanced settings and click Edit Template

- Replace the dynamic sections of your document with fields from your SharePoint library

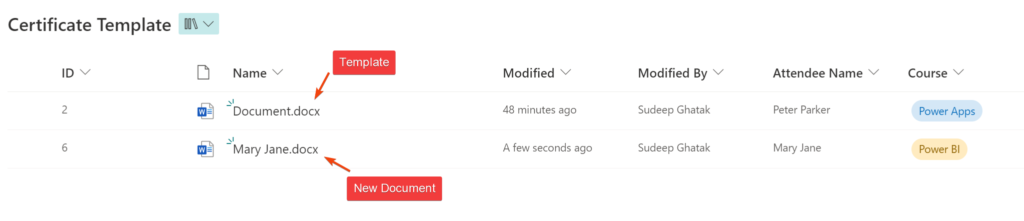
- Let’s test the setup! Lets create a new Document by using the New dropdown and update the Attendee Name and Course fields.
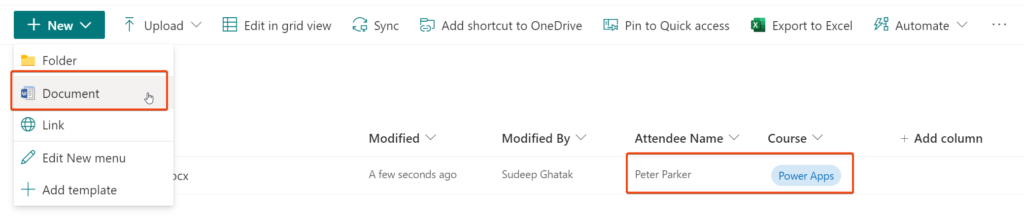
- Open the document. As you can see that the metadata options are getting reflected within the document. So, the template setup is now complete!

Let’s automate the creation of the certificates now:
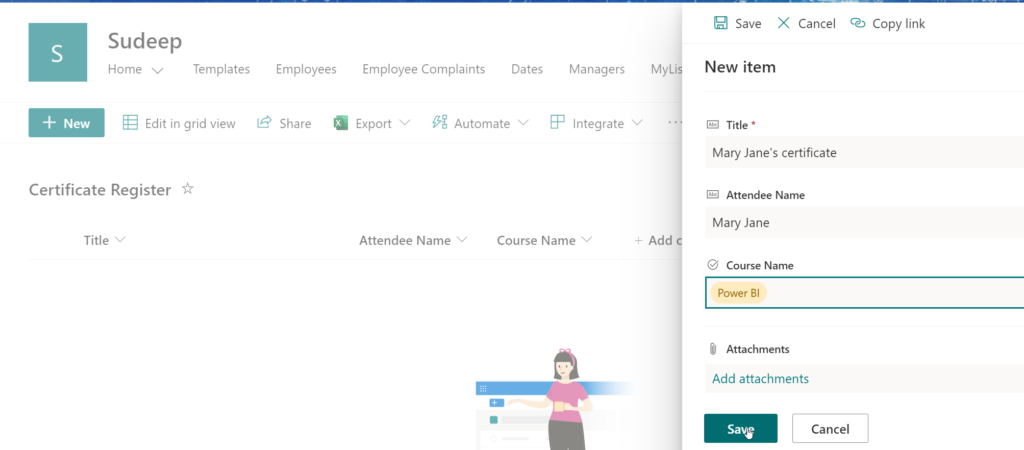
To begin the certificate creation process, we must first determine the trigger that will initiate it. In my specific situation, I have set up a SharePoint list to store the names of attendees and the courses they have selected. Whenever a new item is created in this list, it will serve as the trigger for my flow, resulting in the creation of a certificate for the corresponding attendee.
- Open Power Automate and create a new flow.

- Add a new item to the Certificate Register
- Open the document and yayyyy! we have the document auto-generation process complete.

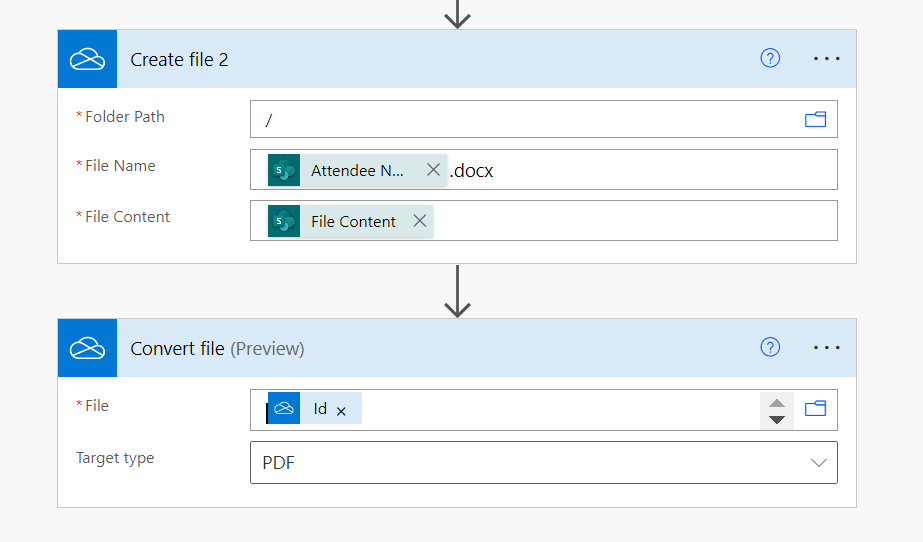
You can extend the flow to convert the Word document into PDF using one of the two ways.
Option 1: If you create the Word document in Onedrive, you could use the Create File and Convert File options to generate a PDF document
Option 2: You can consider third party products like Encodian, Muhimbi or Plumsail
One comment